Pic-A-Star - building a box for it
I decided early on that I would complete
all the modules and have Pic-A-Star working on a breadboard
before building a case.
In designing the case, key decisions were:
I decided on left keypad, no analogue meter and double sided PCB.
The case is 108mm high which is the height
of the height of the aluminium box
for the PA plus 3.5mm to allow for the thickness of the top and bottom panels
above and below it.
This gives enough height beneath the BPF unit for the G6ALU timer and logic
boards to be mounted vertically
facing each other.
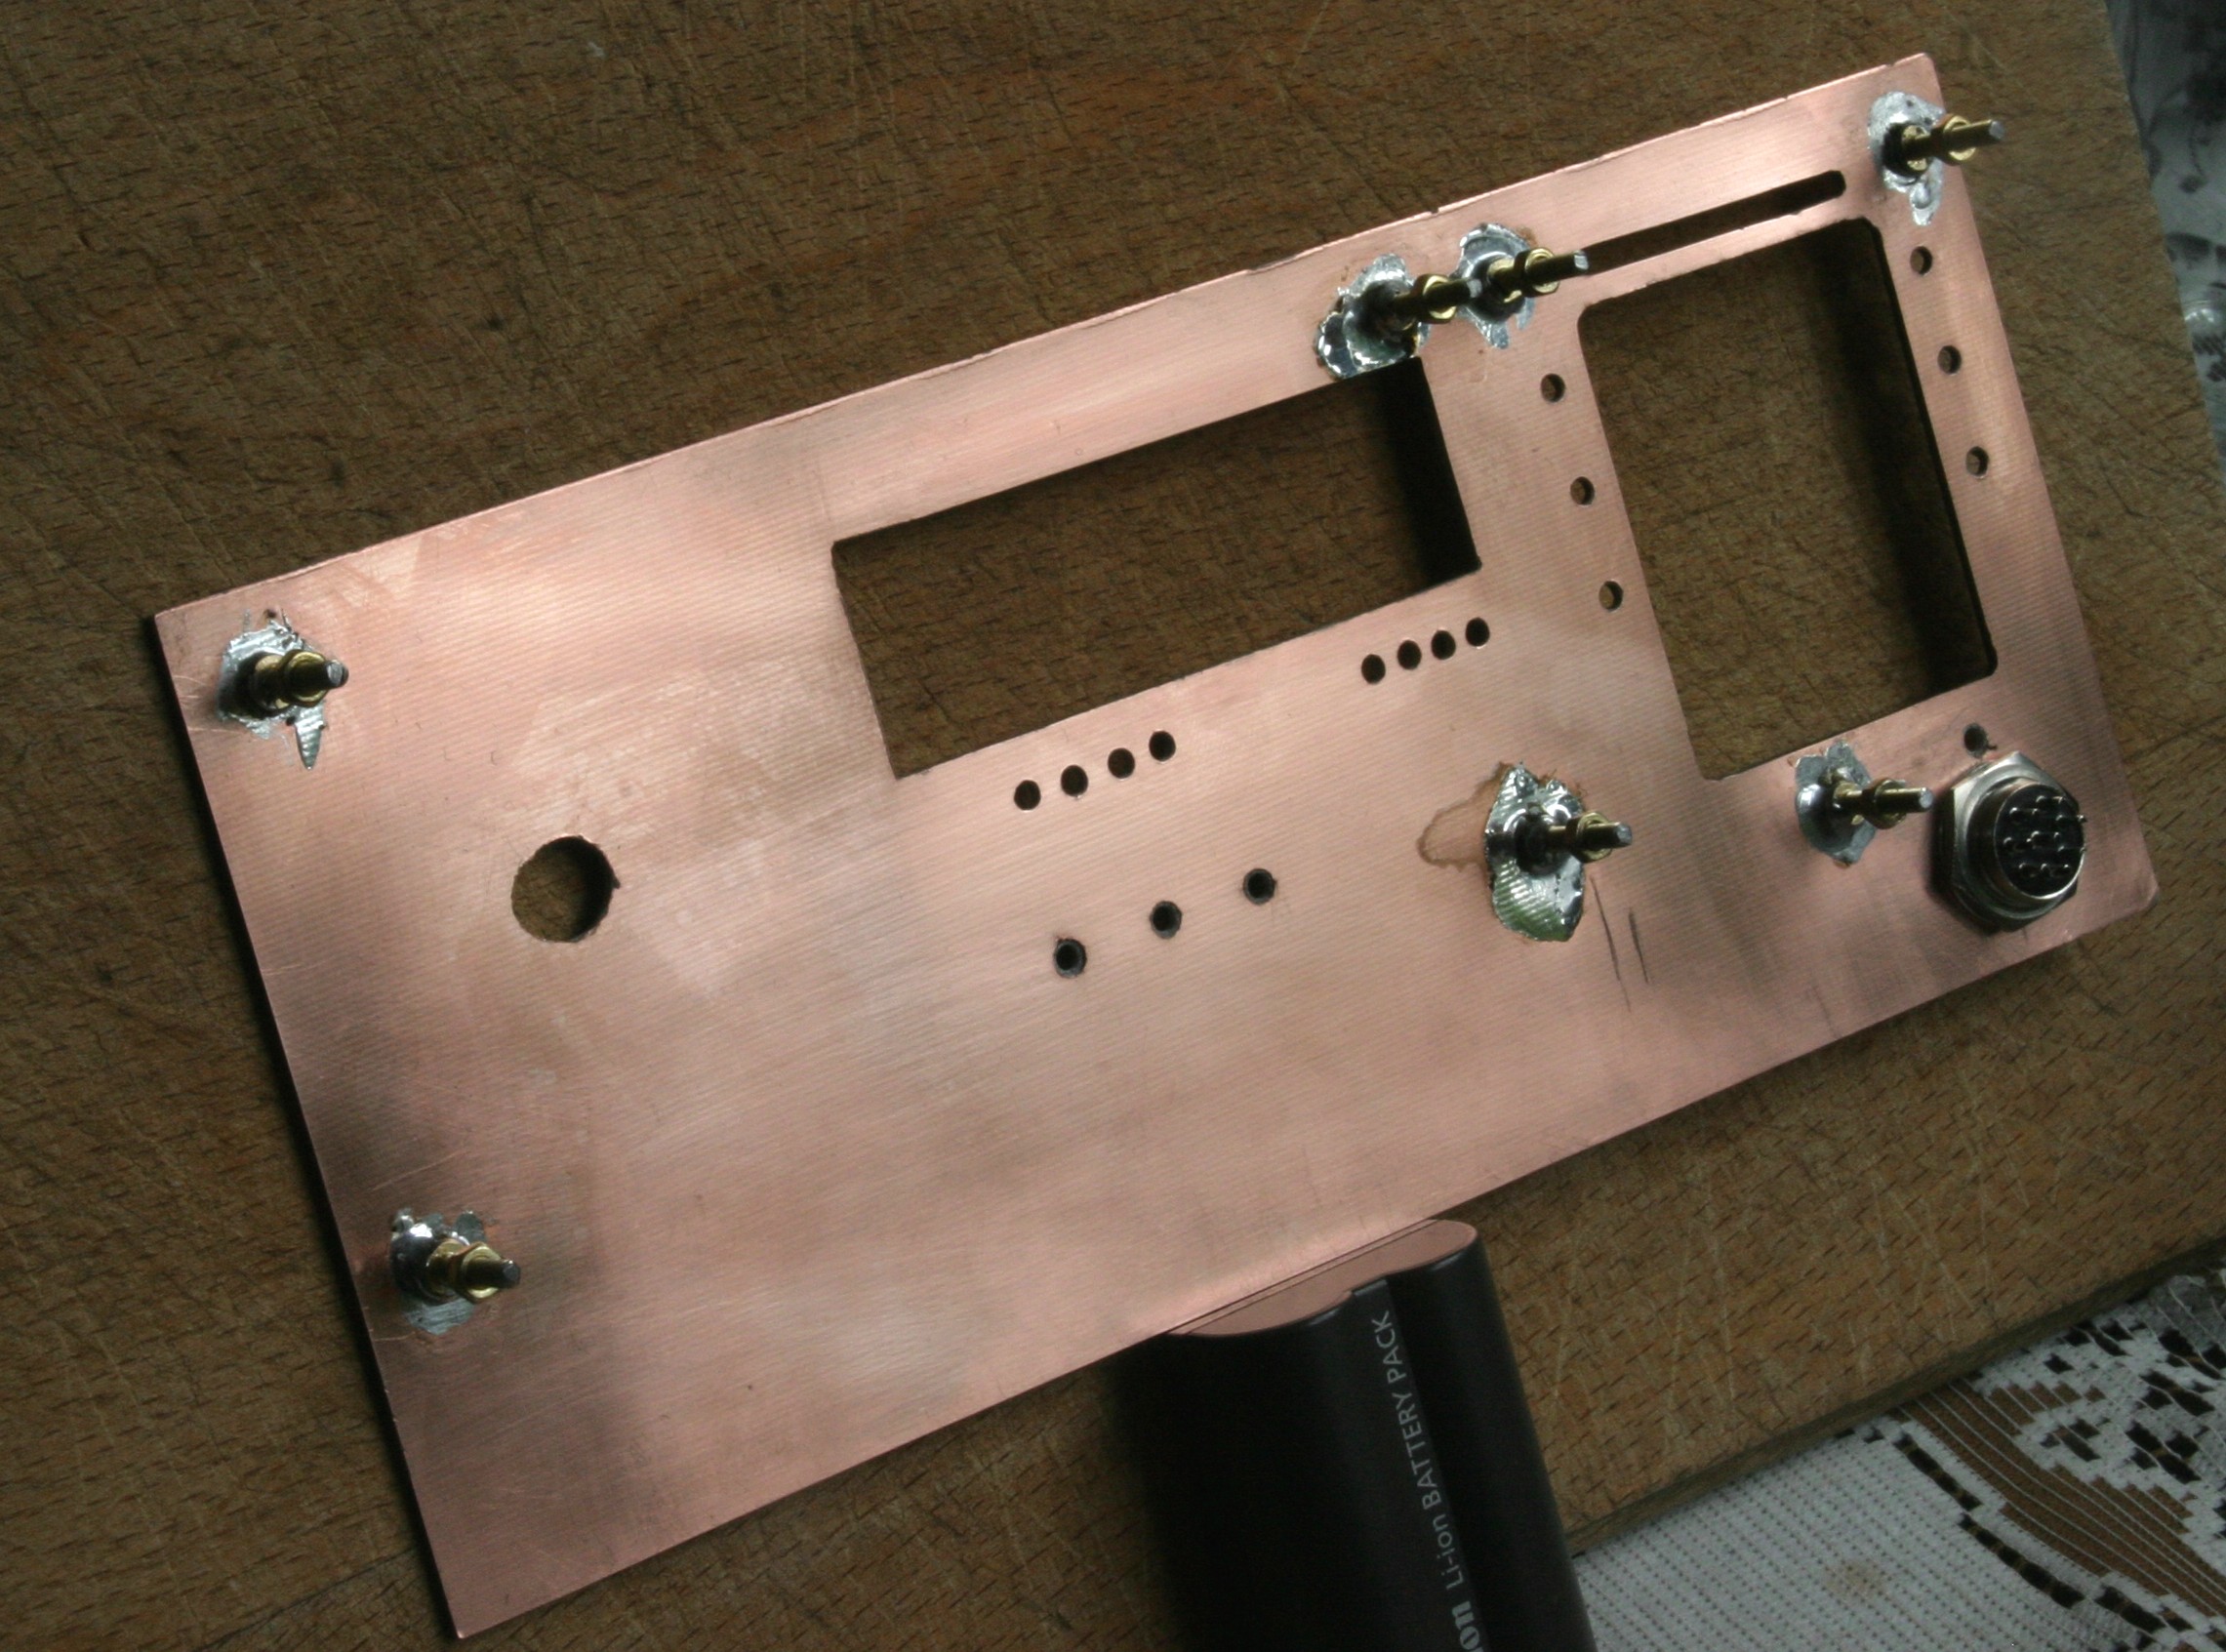
The front panel was been made first as
it is the most difficult part and its layout defines the poition of internal
partitions.
Printouts of the keypad labelling overlay and display board layout were glued
on to guide drilling and cutting.
Rear view of front panel showing pan-headed
3mm brass plated screws soldered in place to support
the display and status boards.
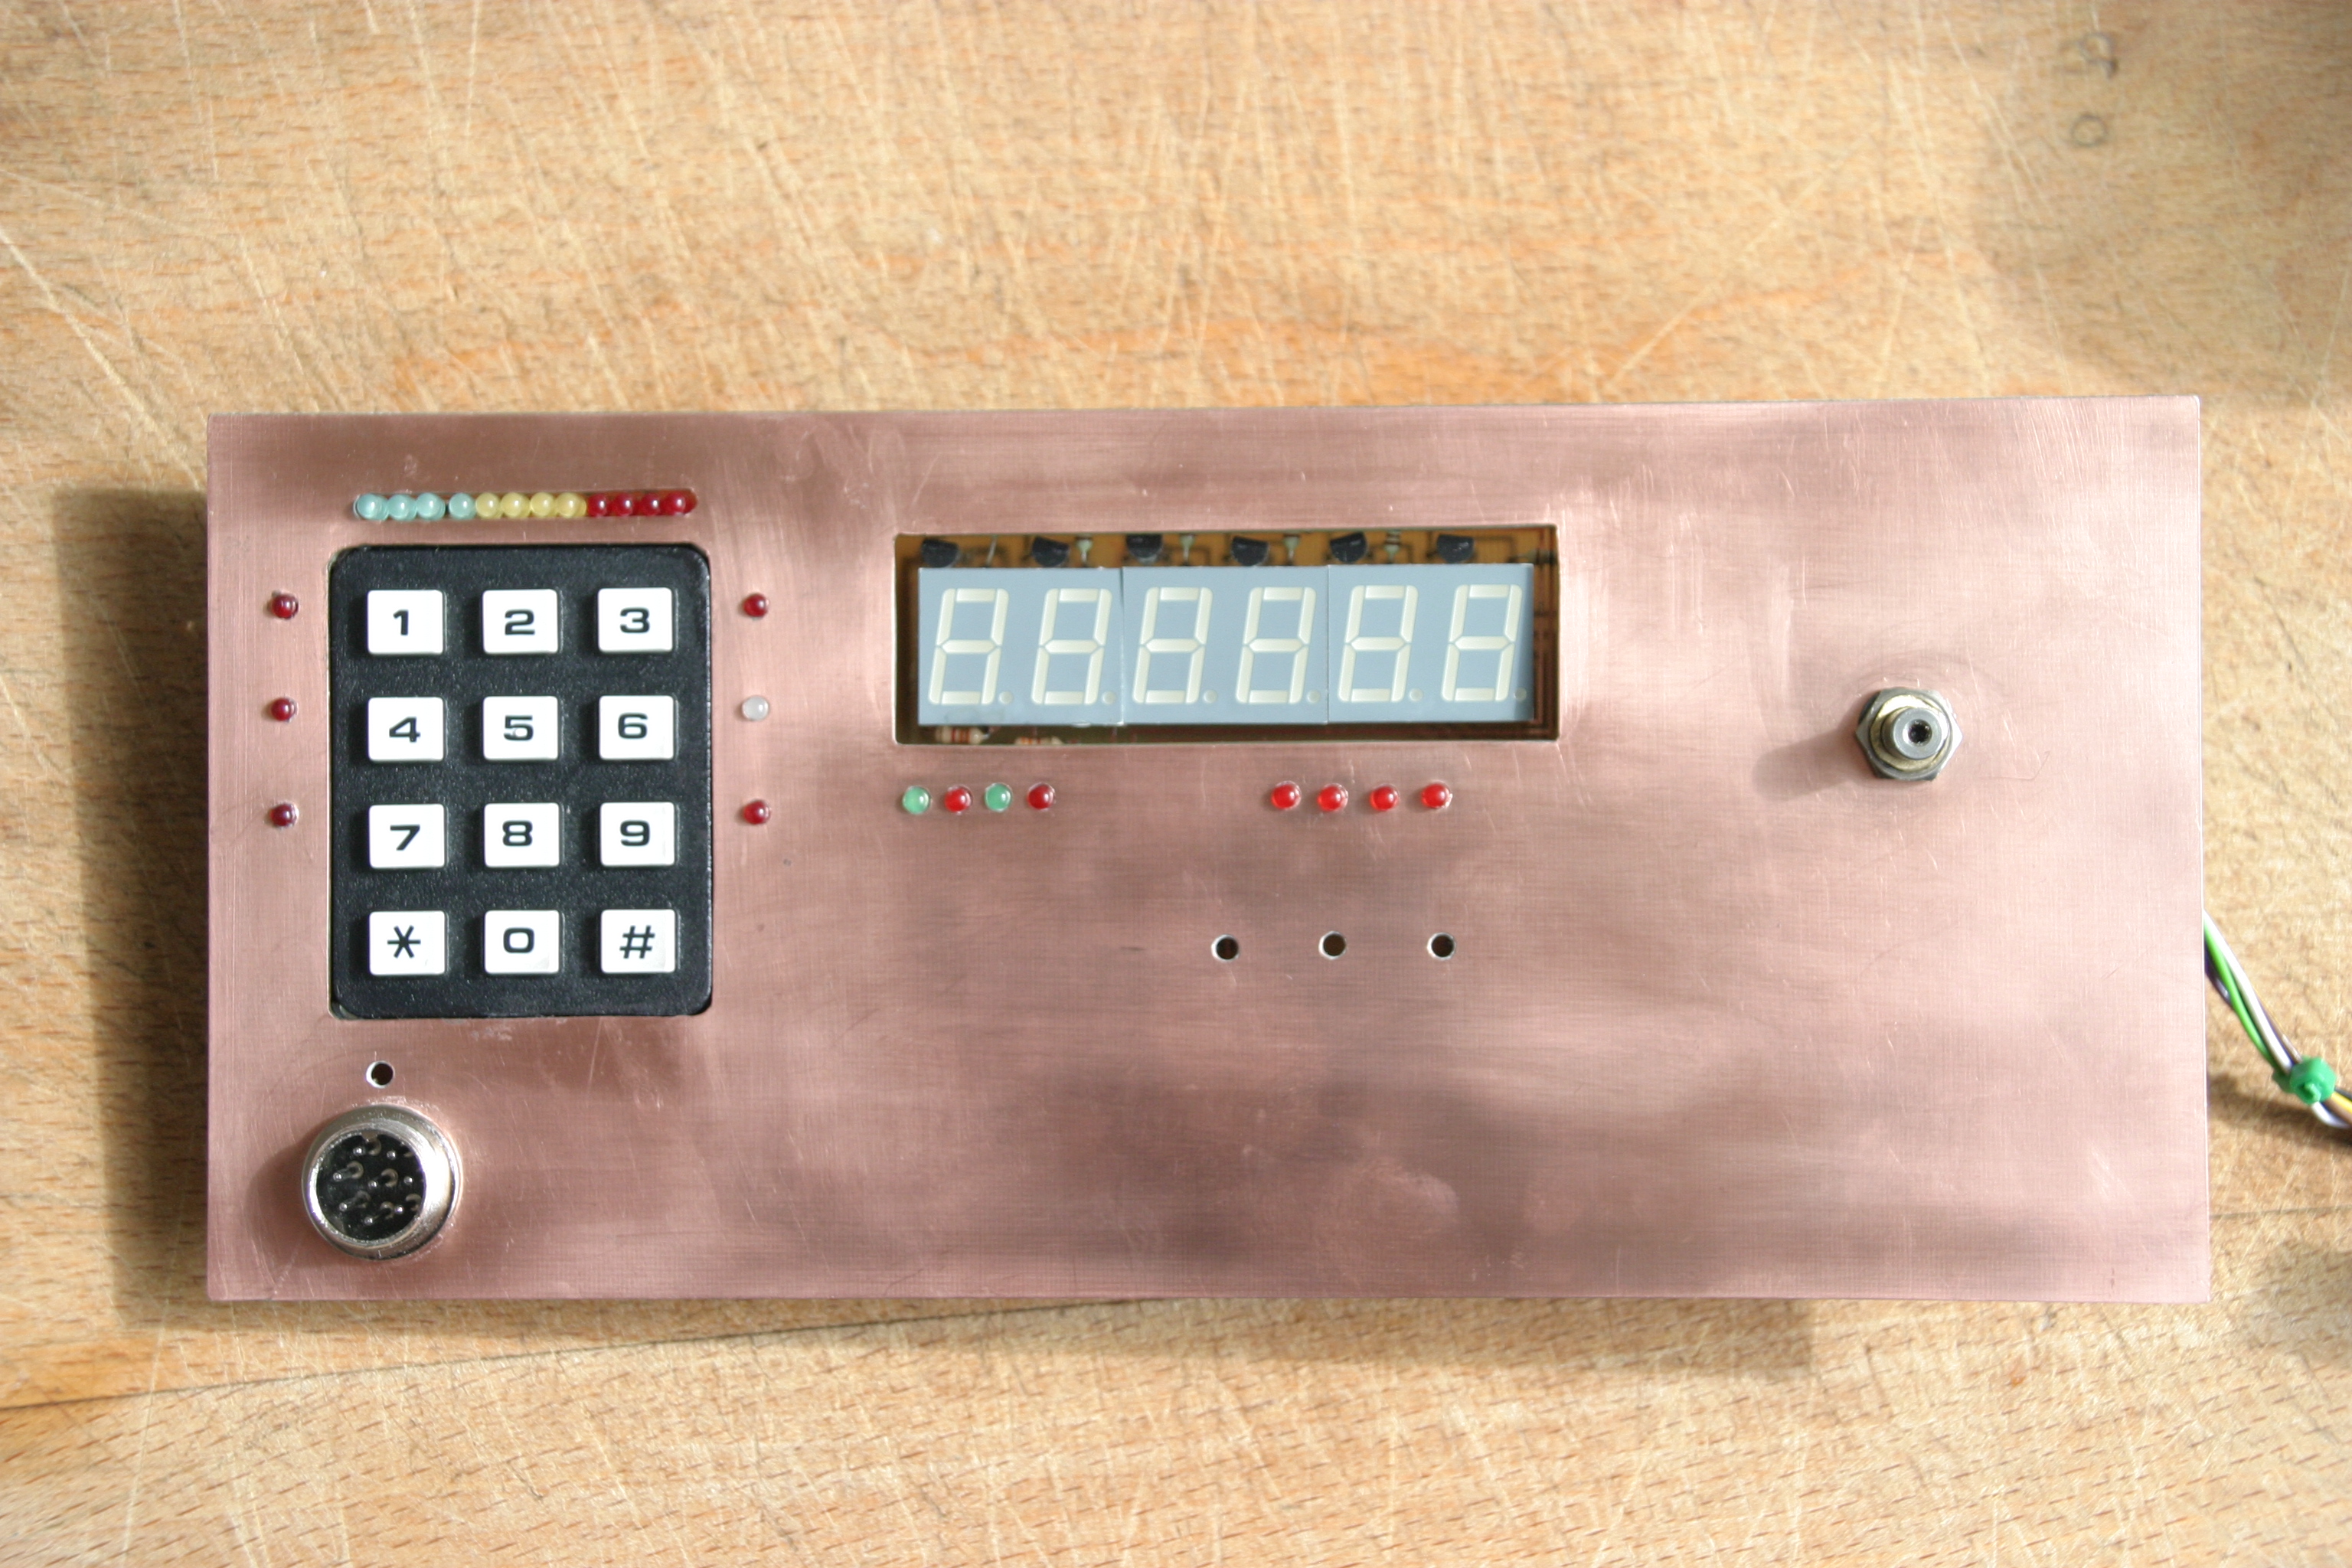
Front view: A piece of red filter material will be positioned behind the panel
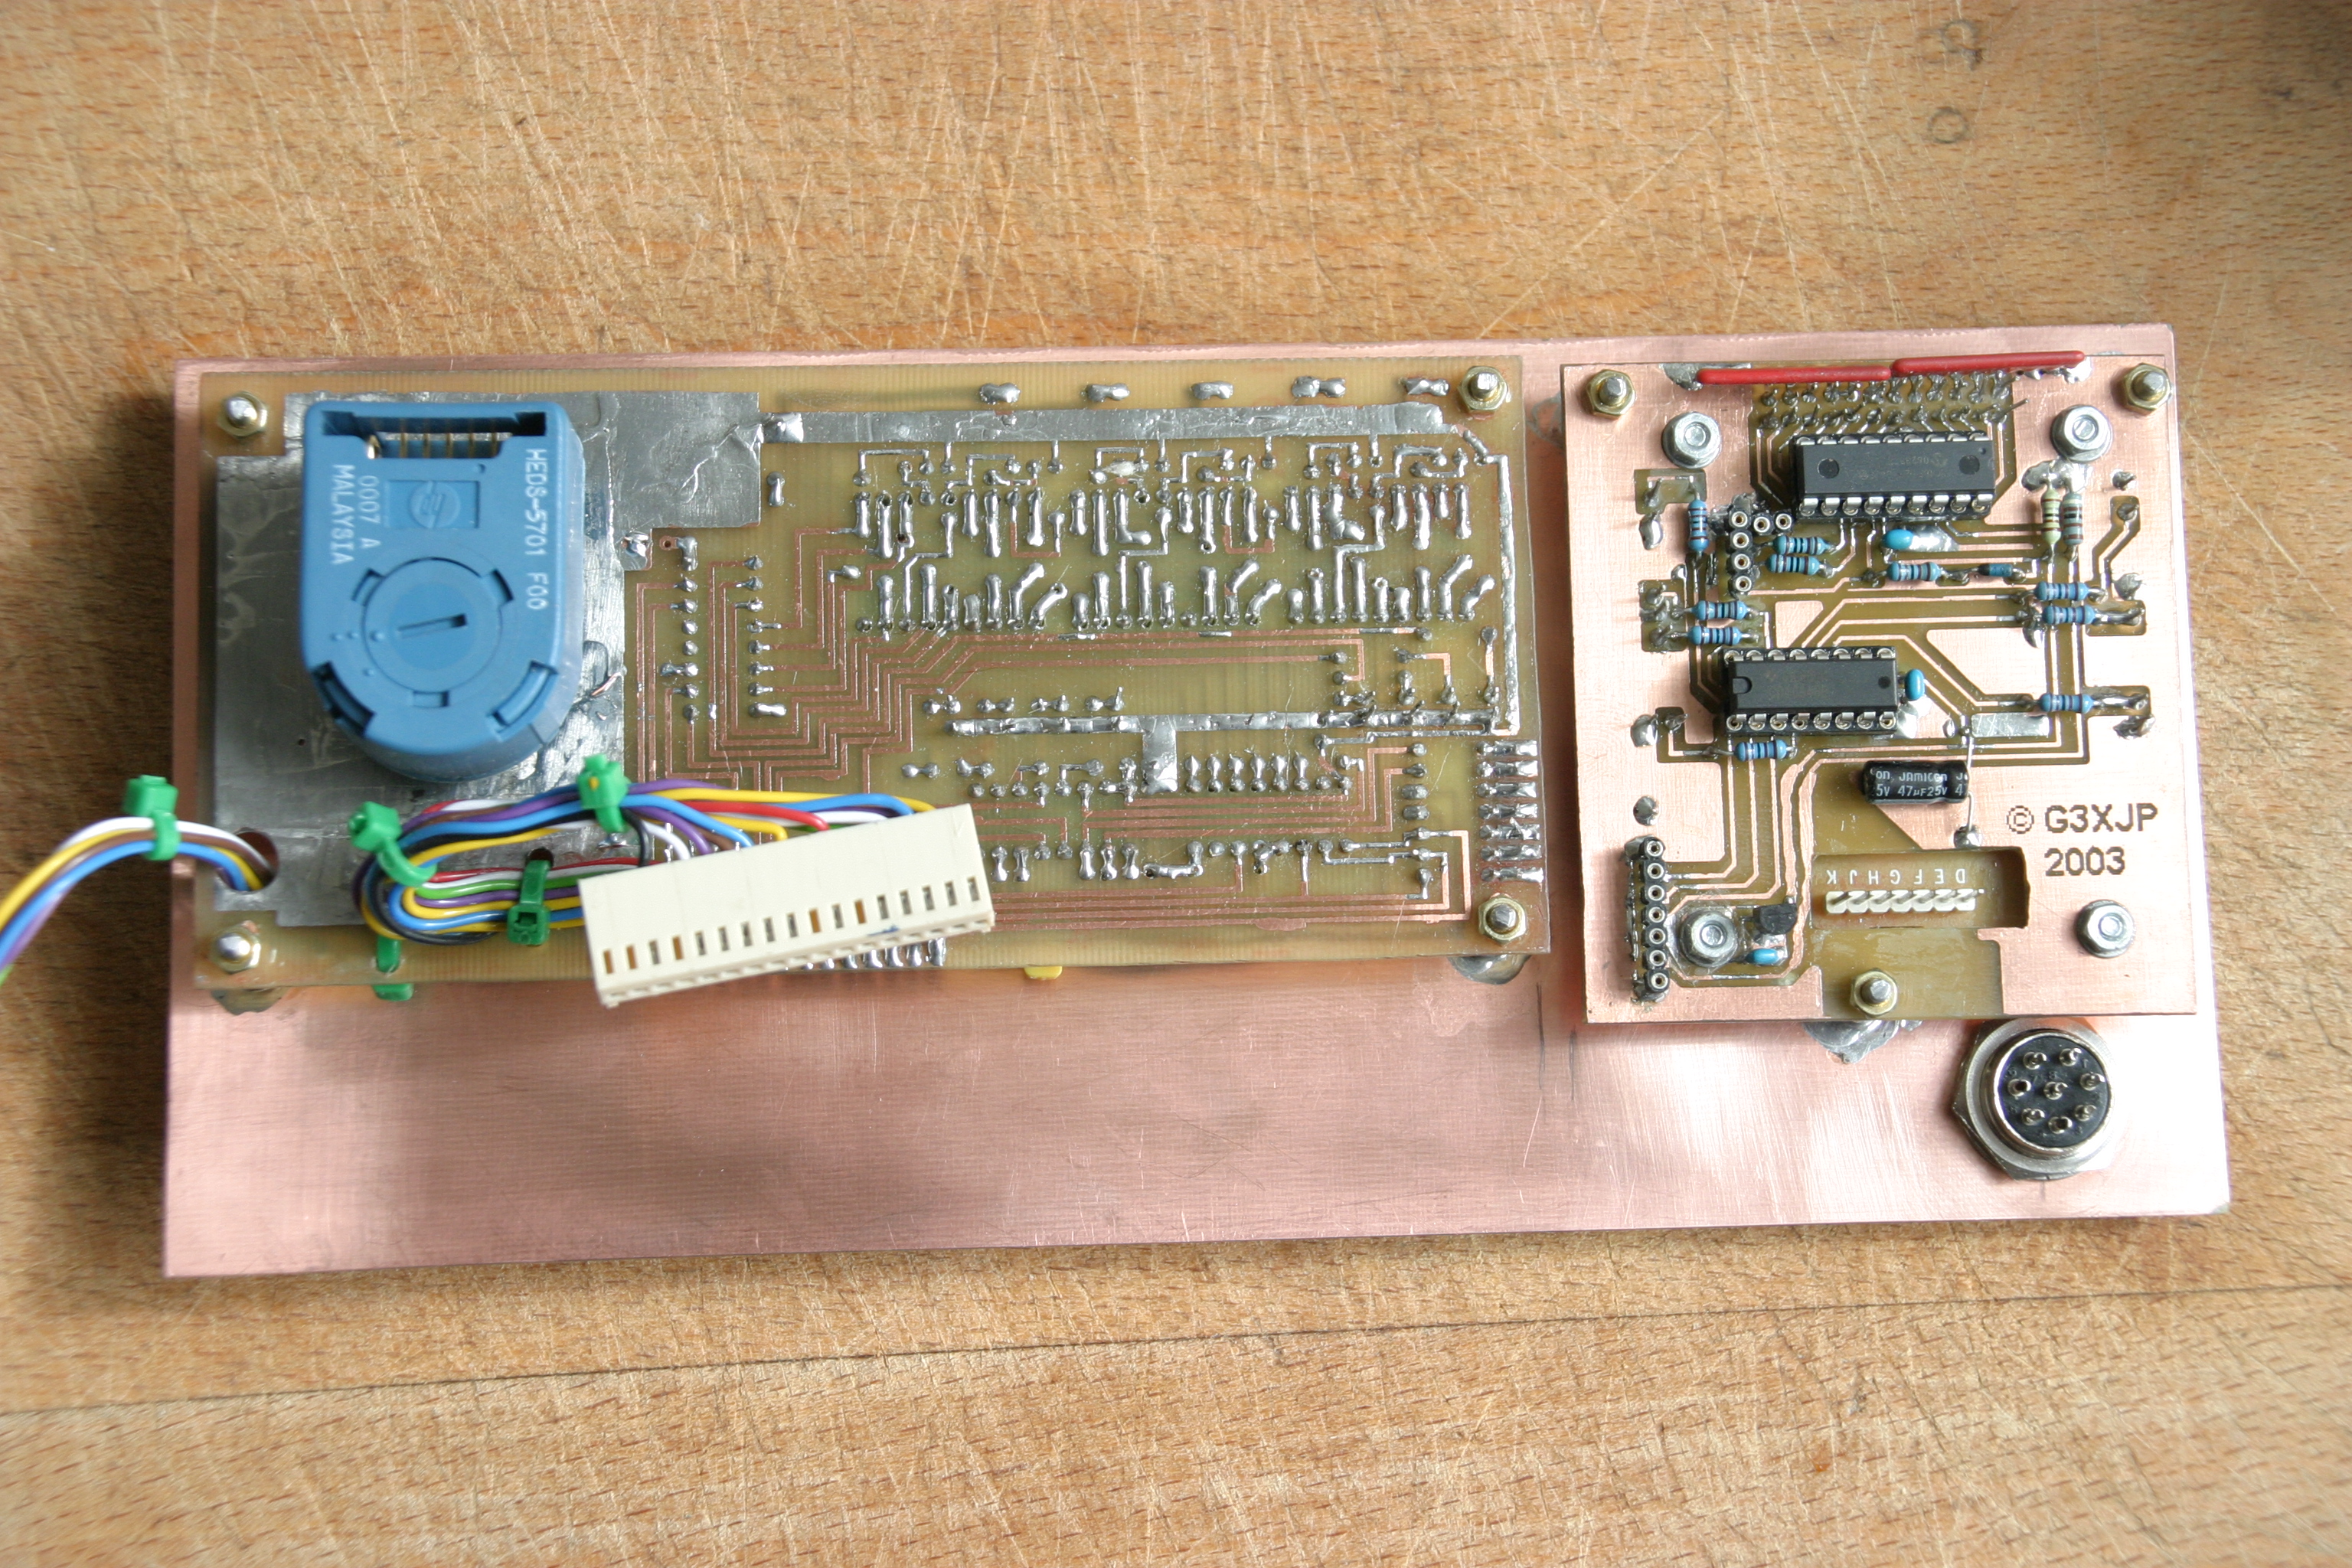
Rear view: The leftmost cable is to the keypad and will be shortened and rerouted.
Detail of display board and rotary encoder mounting.
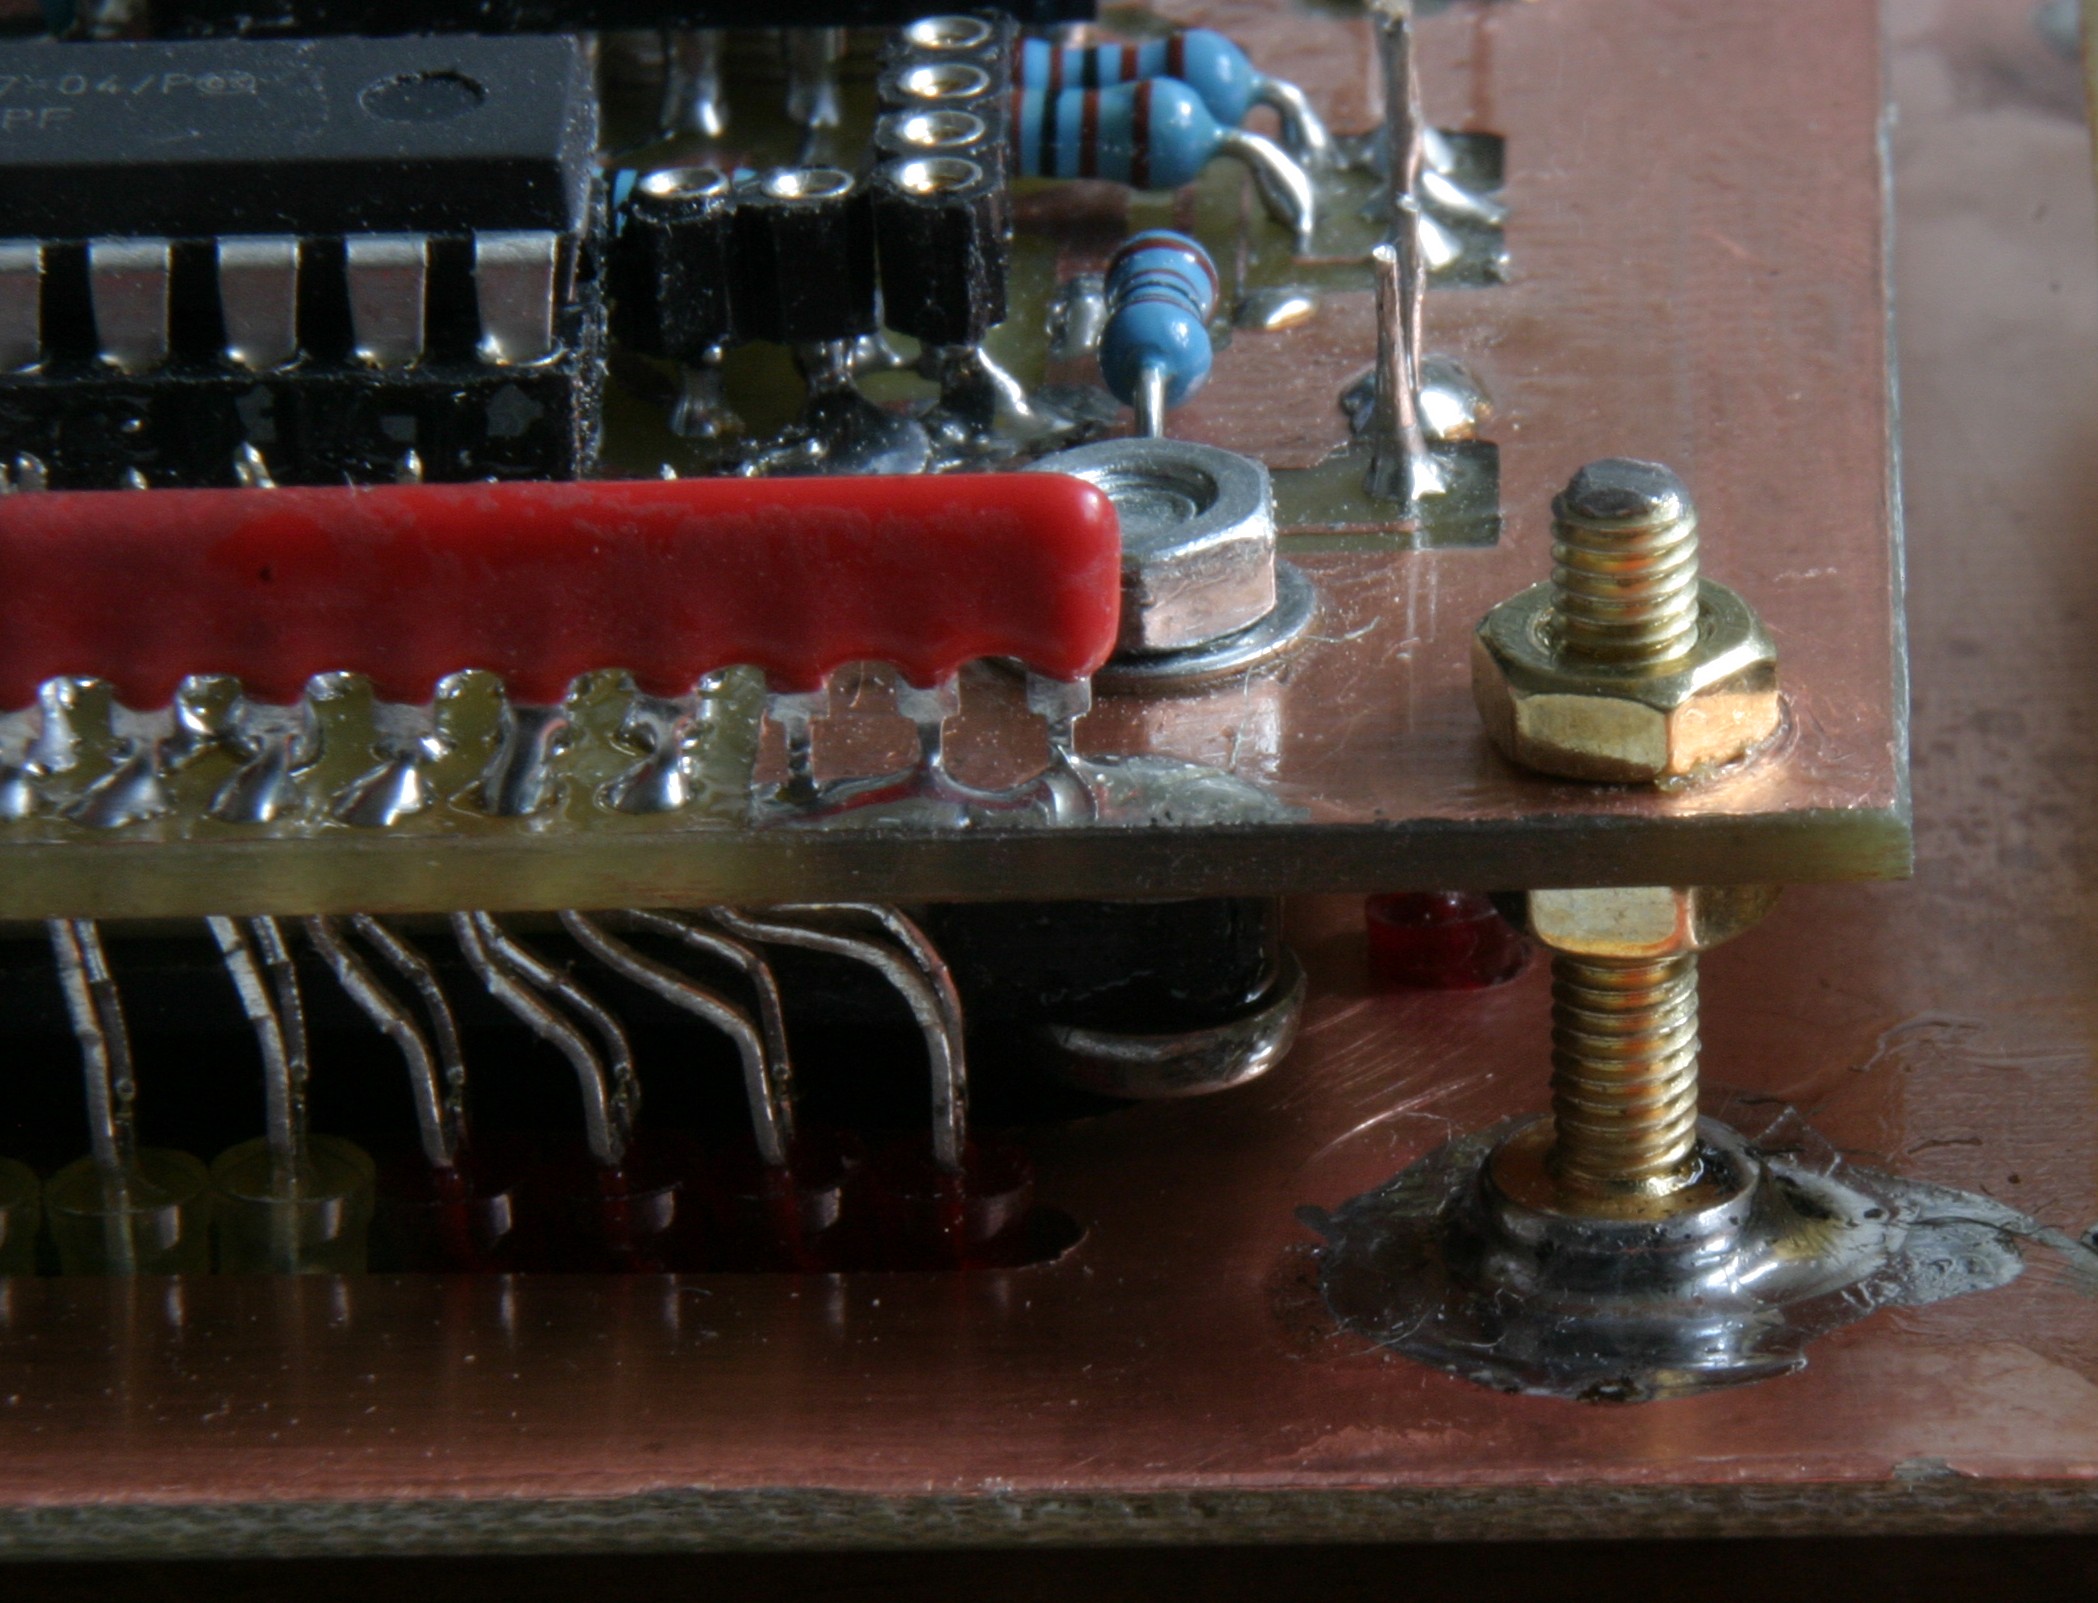
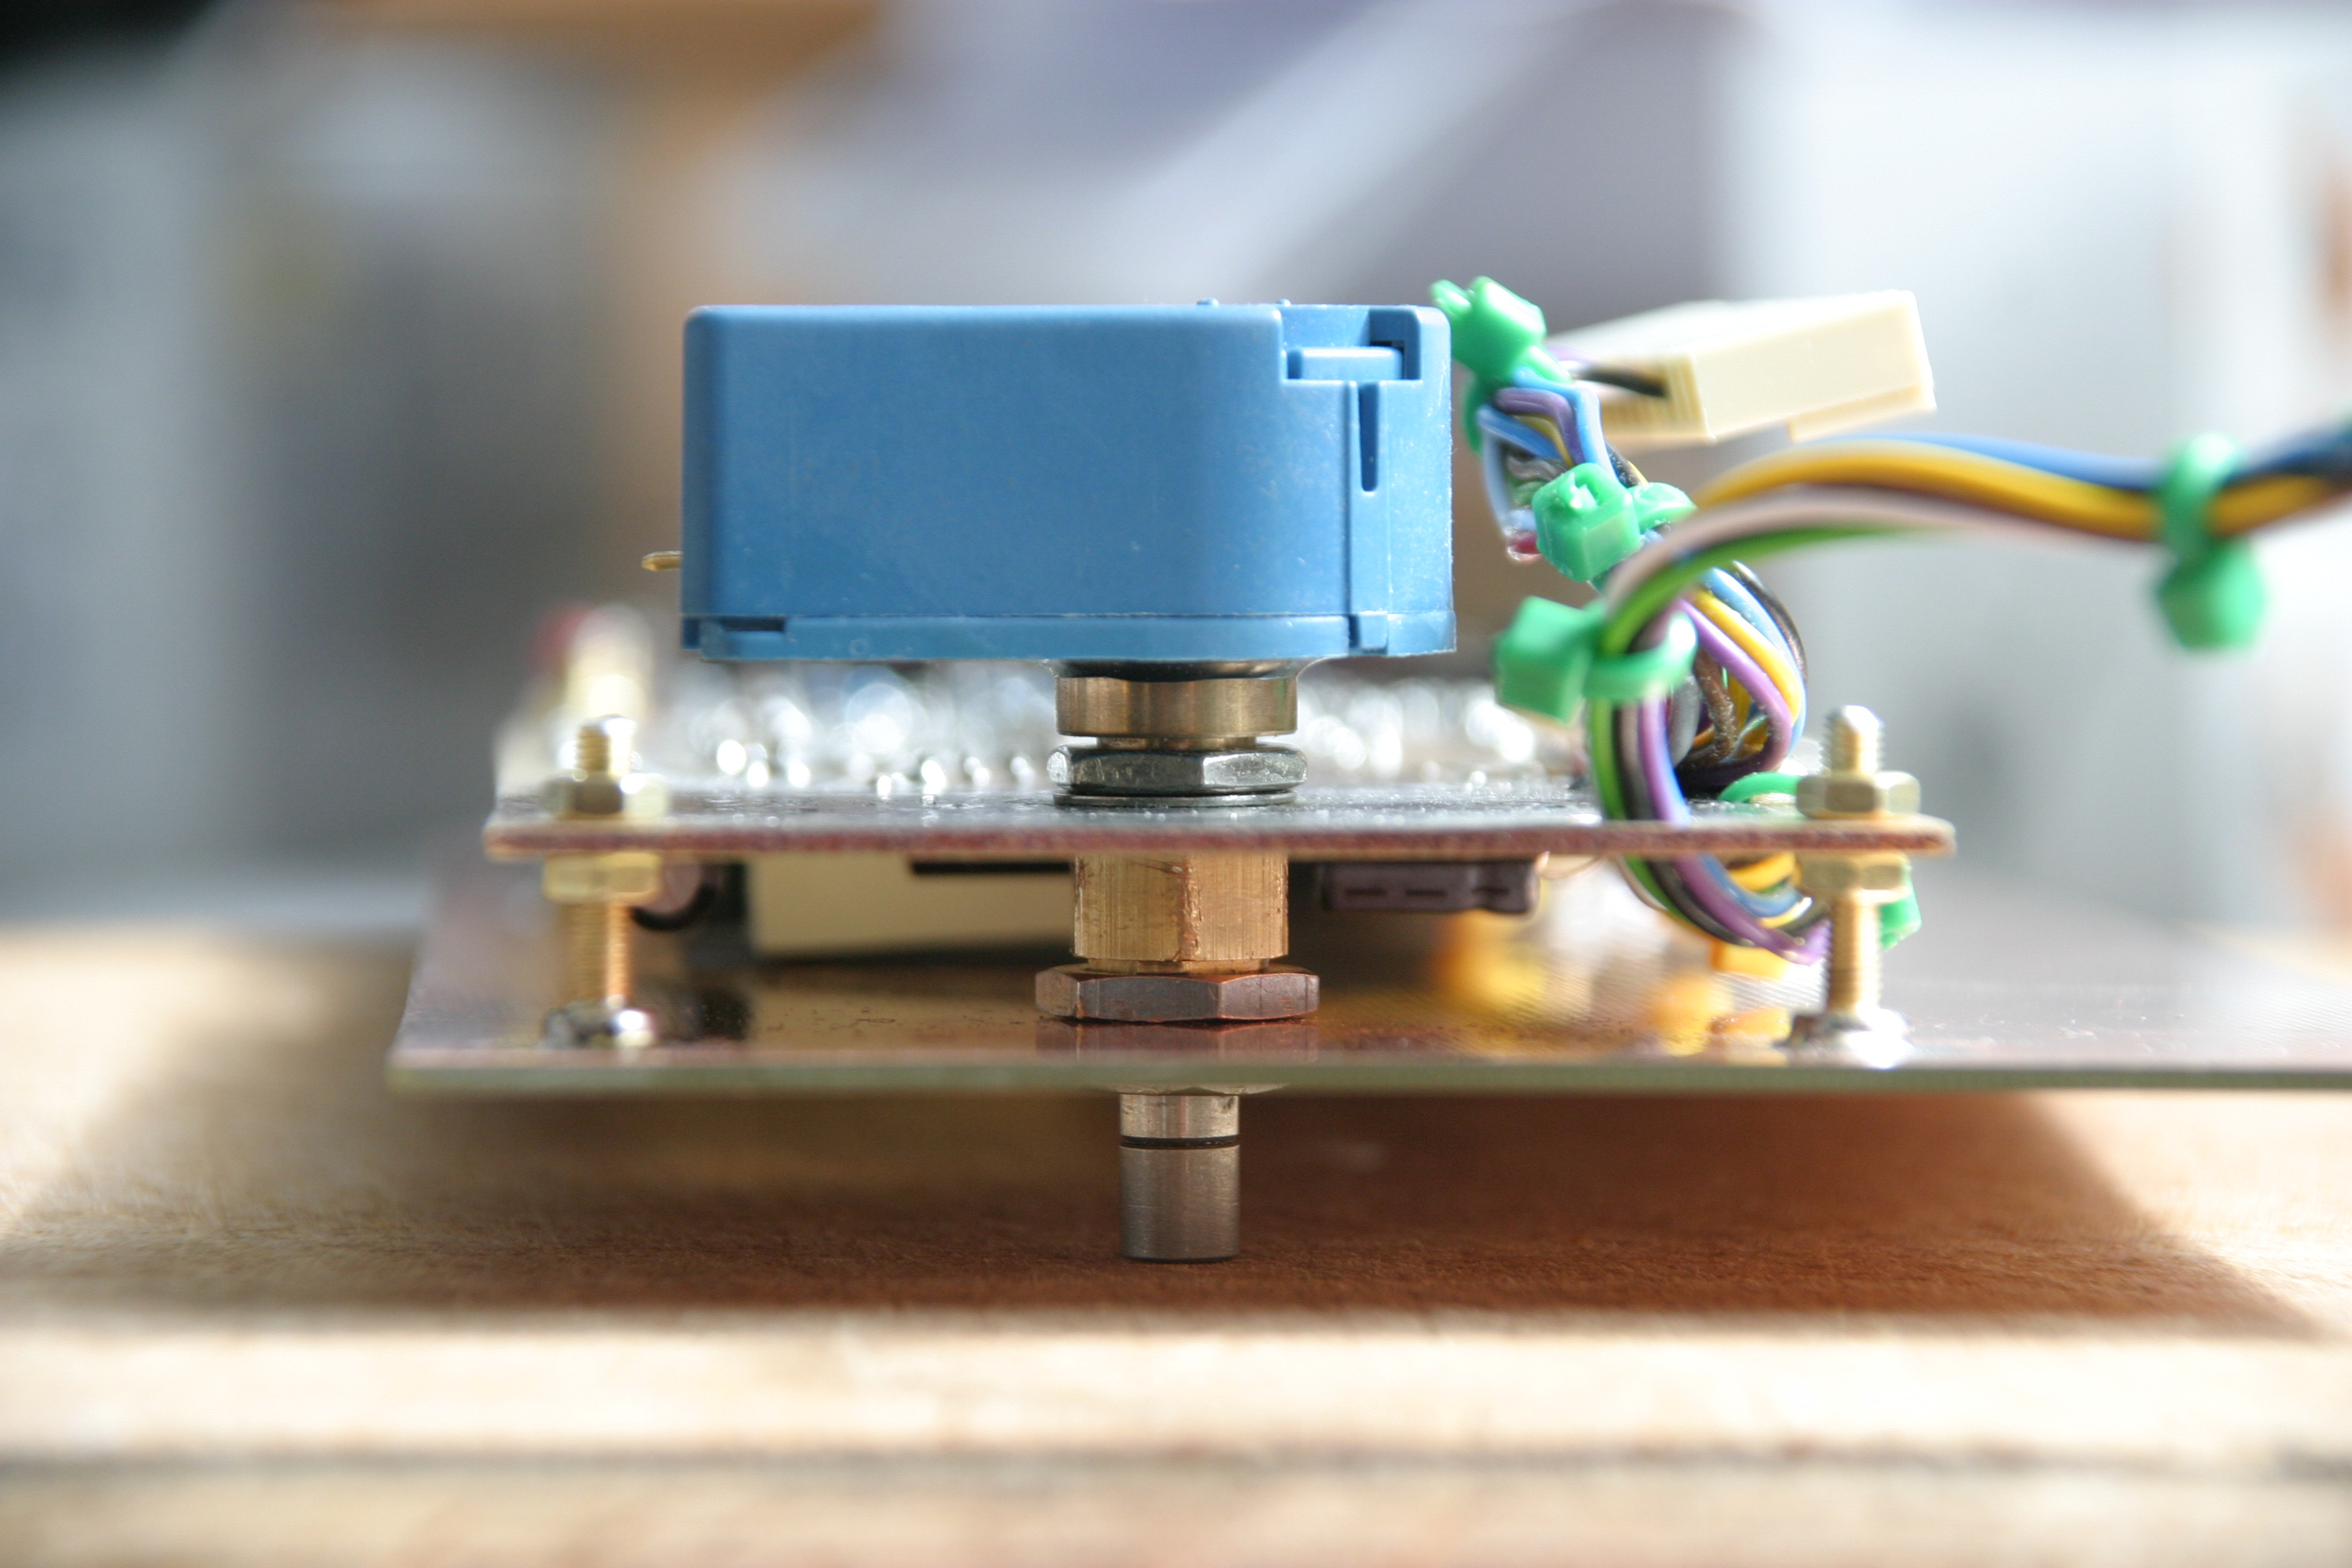
Positioning and soldering the brass screws
was easy. They were fixed to the boards and the nuts adjusted to
have the screws resting on the back of the panel. Spray flux was applied before
soldering.
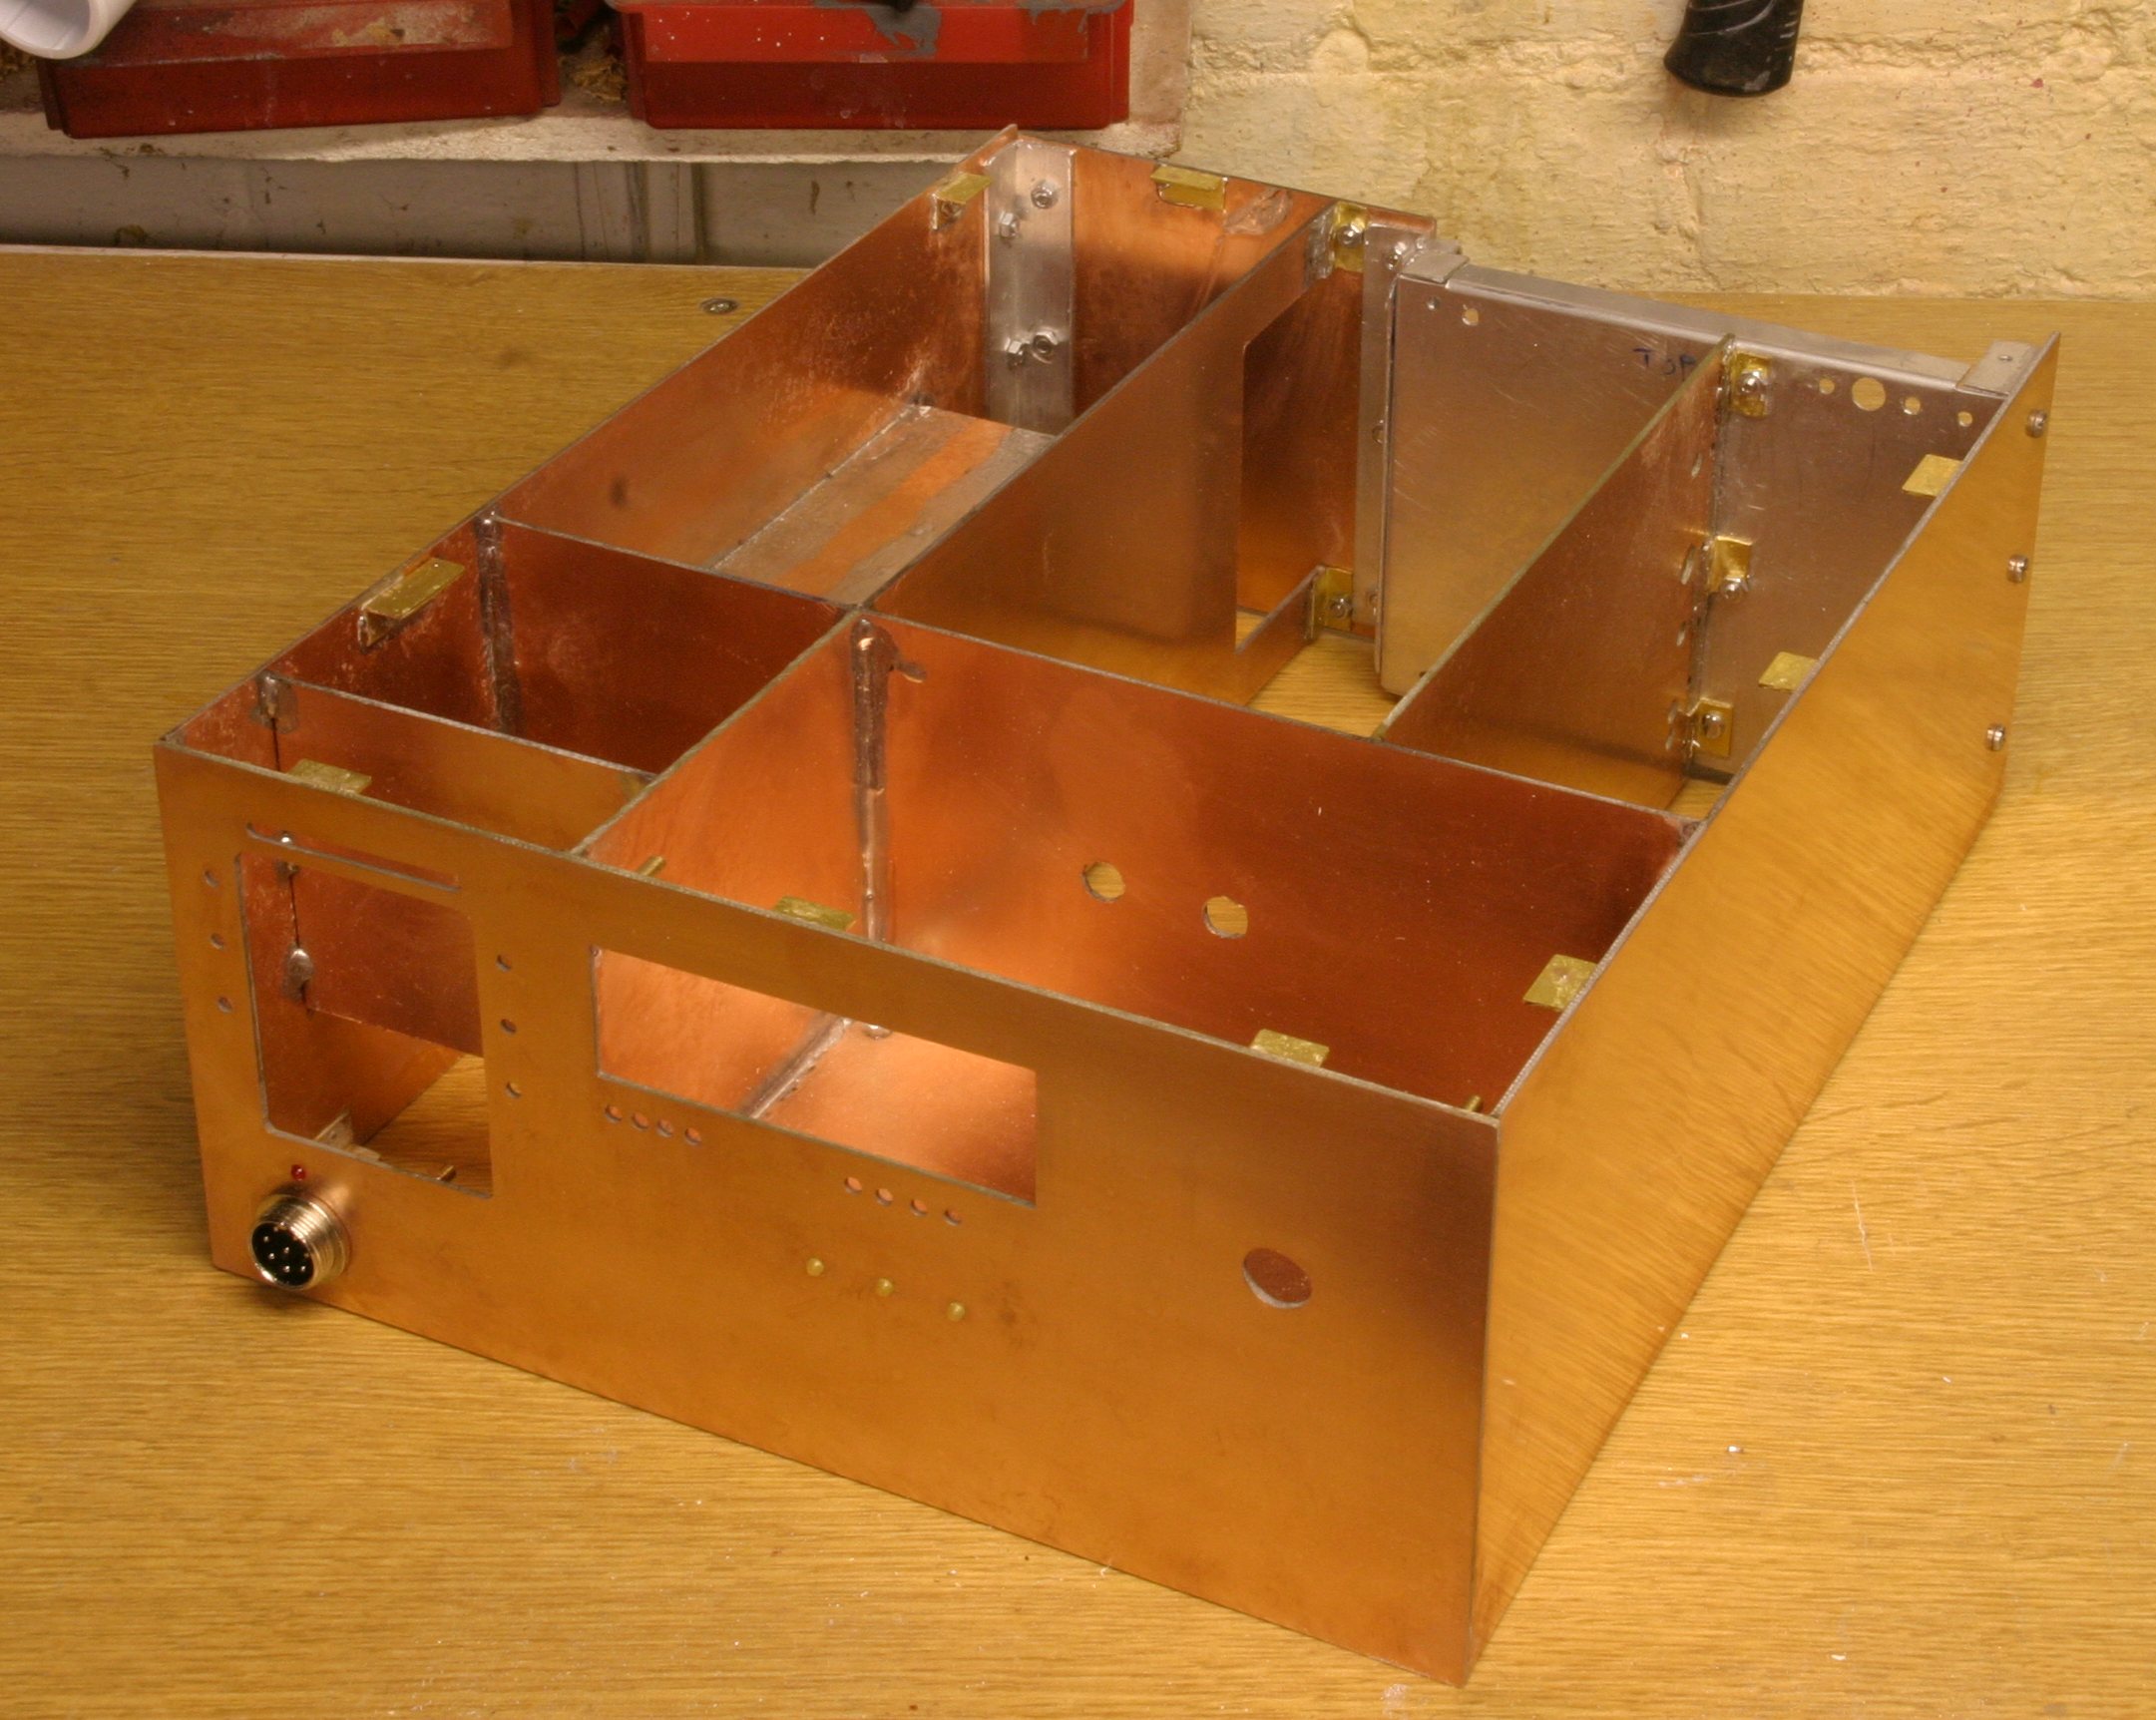
The case completed. Note the rectangular
cut-out in the fore-aft partition at the rear. Partition wasn'twanted here
but strips of PCB retained at top and bottom to brace the back of the case.
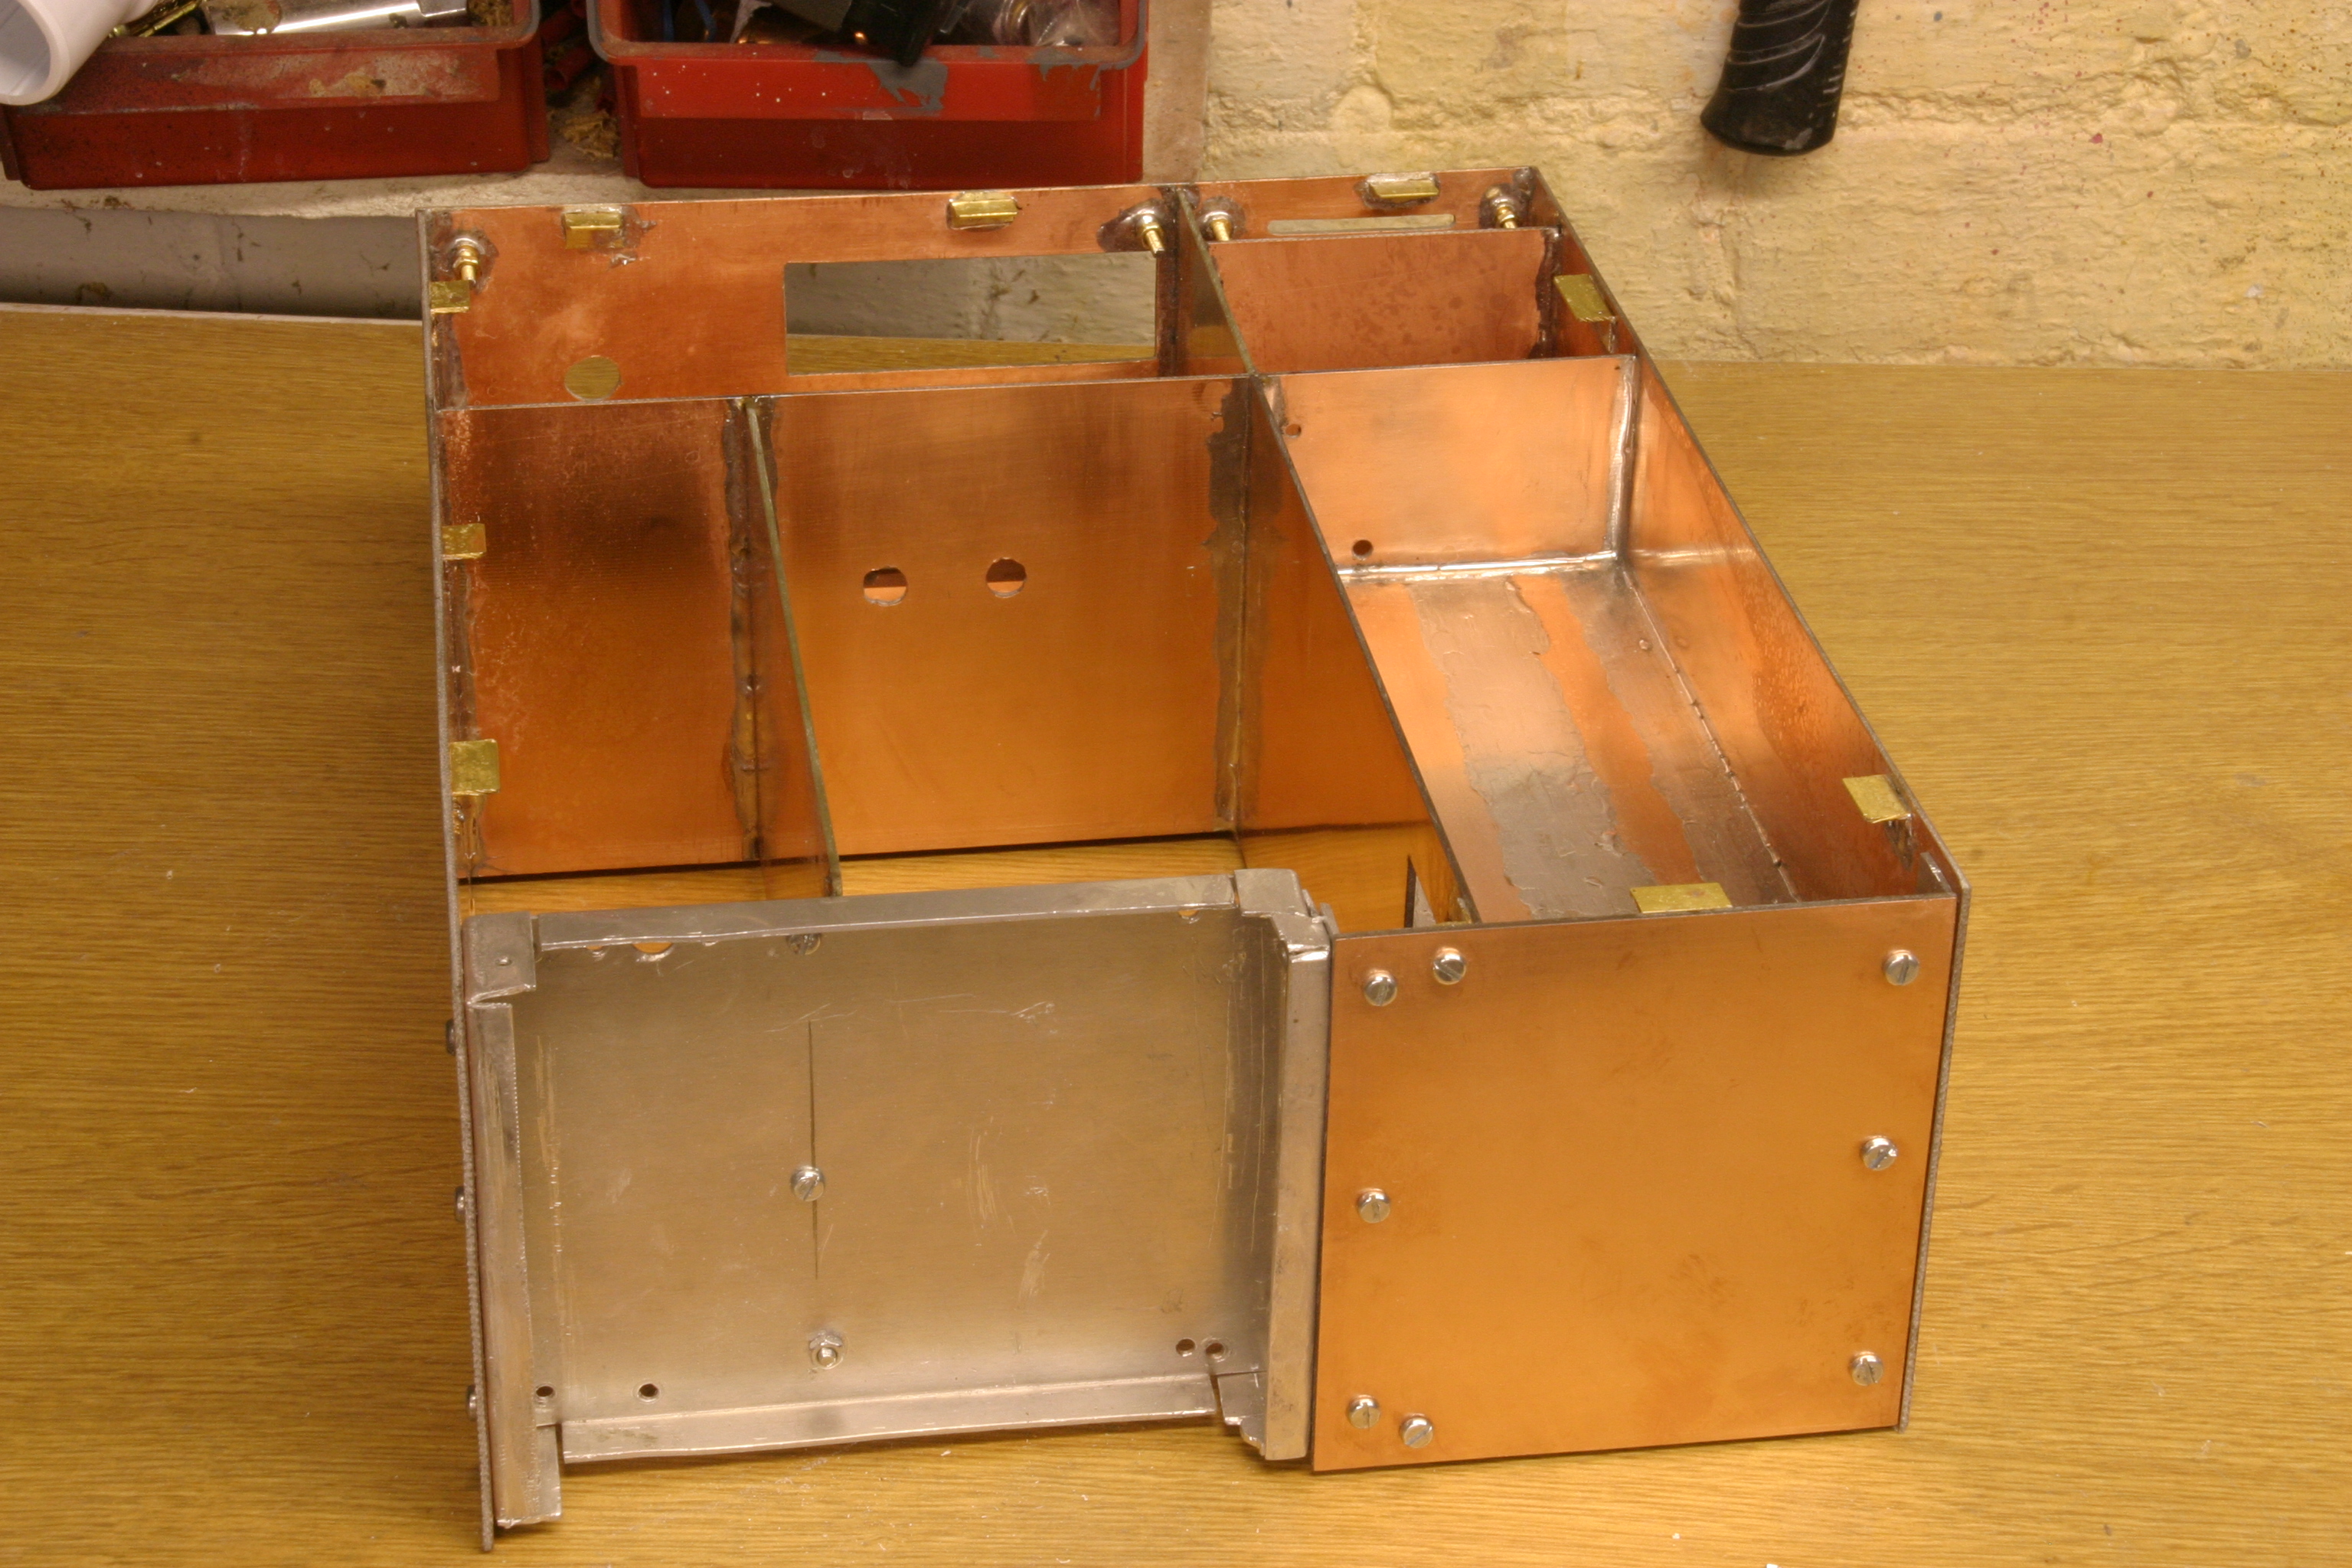
The PA + heatsink are on a U-shaped aluminium sheet forming the top, bottom and back of the PA enclosure.
The BPF compartment is on the right. Brass
shin was soldered to the long outer edges of the the underside of the BPF unit
(in addition to the recommended central shim). The floor of the comapartment
has been tinned to provide better contact
(bare copper will corrode)
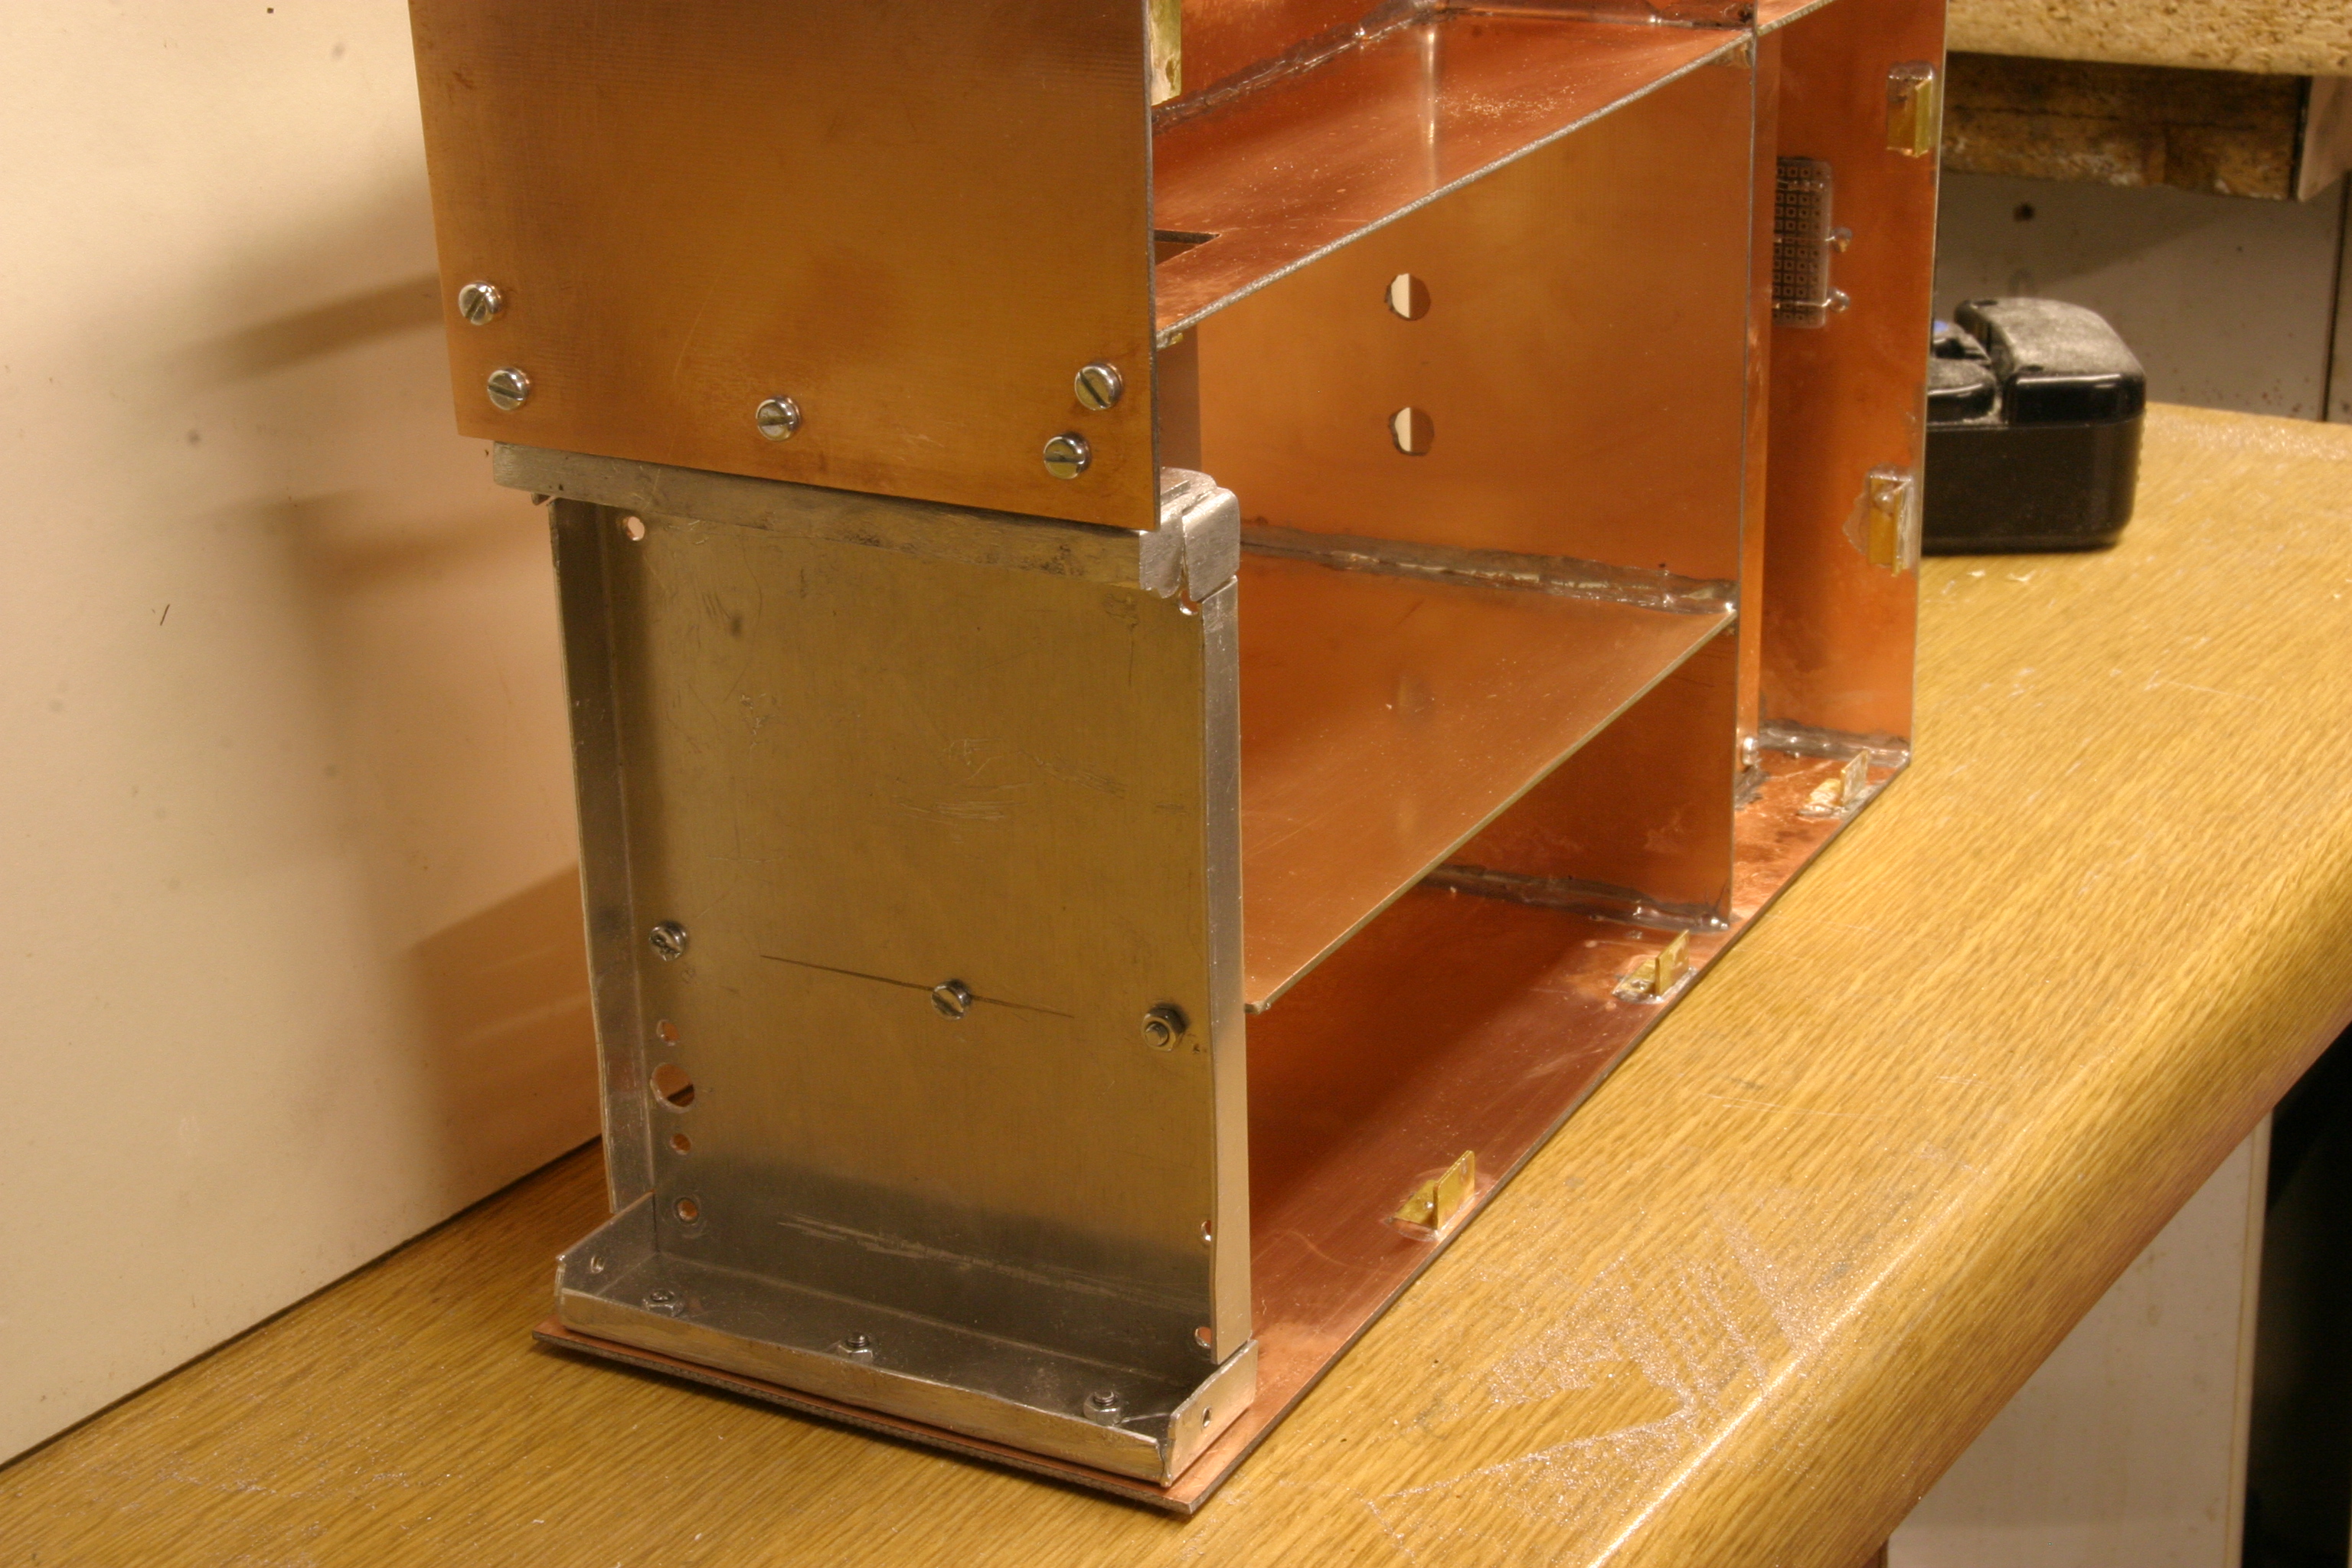
Further view showing construction of PA compartmen.
To join PCB to aluminium, brass angle from B&Q was soldered to the PCB board
and screwed to the aluminium.